Intro
HX-Recovery for DVR, XVR, NVR is designed for surveillance video restoration embedded
Unzip password: cctvwiki.com
Features
- Recovery due to misoperation in Windows to monitor video disk initialization
- Recovery due to misoperation surveillance video delete time
- Recovery due to hard disk initialization on the DVR device
- Recovery due to damage caused by index, unable to index video recorder
- Because of the hard disk bad sectors which cannot be indexed video restoration
Supported DVR Type
- DHFS(DAHUA DVR ), RSFS(raysharp), WFS {WFS 0.1/ WFS 0.2 / WFS 0.3/ WFS0.4}
- Hikvision, ZHILING, FS3.2, KSF, JF, Keeper, MCG, VVF, HYAV, Avtech, kouoer, Hisome, IFV
- D-max, Eagle, HBGK, BL_WAPE, Jovision, Juanvison, Tiandy, TianMin, TDFS, ZENO, IDIS, Jemsay,
- icatch,iVenaydr,STREAMING,SWANN, TP-Link,Zhongl_dun,ZView,BlueSky,KSF_Dc,Uware,FHDRH
- Acegear,Common,Novus,Tango,JVS_SV7,Uware8K,Lorex,QVFS,WFS0.5,WFS_EXT1,SD-MDVR,DHFSUCLINUX etc…
Characteristic
- Image file scanning
- Program can automatically identify the monitor type, even if the 0 sector failure (hard disk initialization in
- Windows system) can also be automatic recognition.
- Procedure can be custom scan area
- Program can add time filtering in the scan, the scan only surveillance video defined time period.
- Program scan mode is flexible, there are three ways:
System Requirements
- Operating system:Windows 2000 / 2003 / 2008 / XP/ Win Vista / win7 / win 8 / win 10 64bit
- RAM:1 GB or highe
- Hard Disk: minimum 50 MB of free space required for installation
- Display: 1024 x 768 or higher resolution, 256 colors
How to recovery
Time needed: 1 hour
How to recover surveillance camera image data from the hard drive of DVR, XVR, NVR
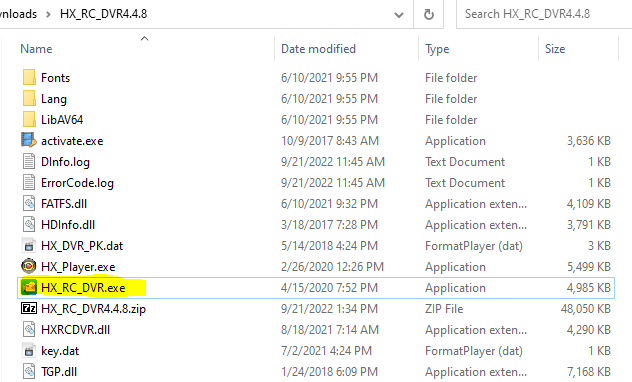
- Download HX-Recovery
- Unzip and Install
Extract the software after downloading and running the file HX_RC_DVR.exe to use
- Select the hard drive to recover
When the software interface appears, click New Task to start selecting the hard drive (Physical drives) or the mirror image file (Disk Image).

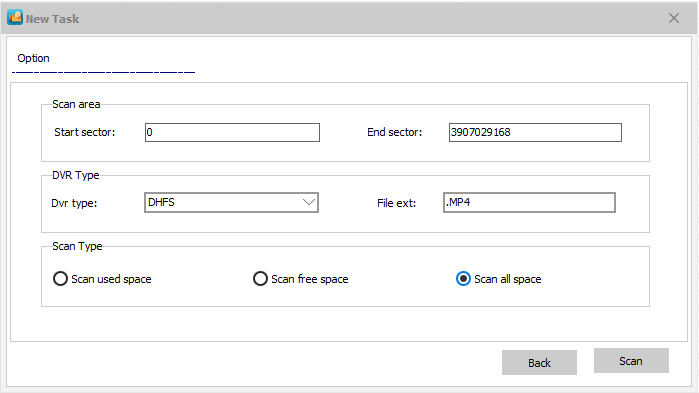
- Option
Select the region to recover or select the previous format of the hard drive for example: DHFS is DAHUA, HIKVISI is HIKVISION. Then press Scan to start
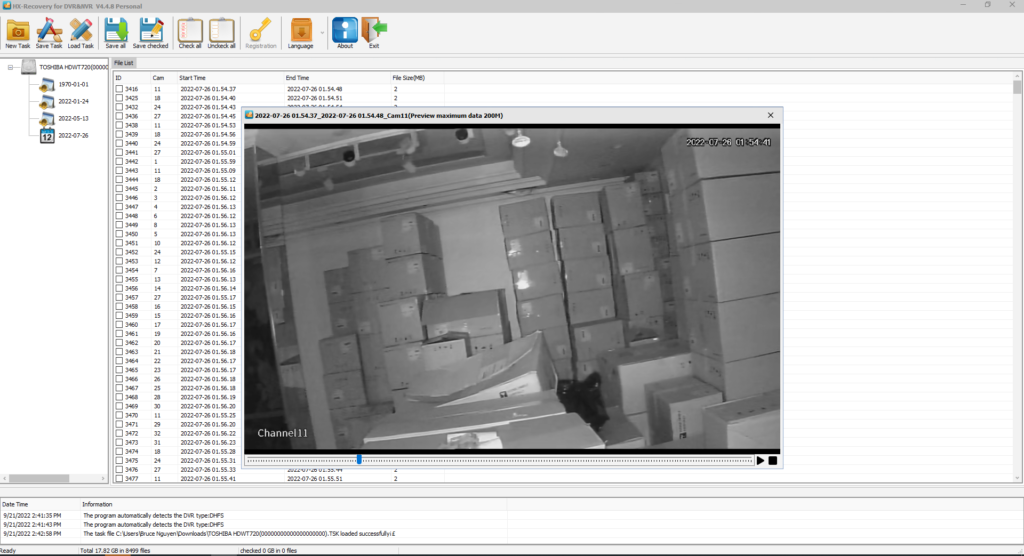
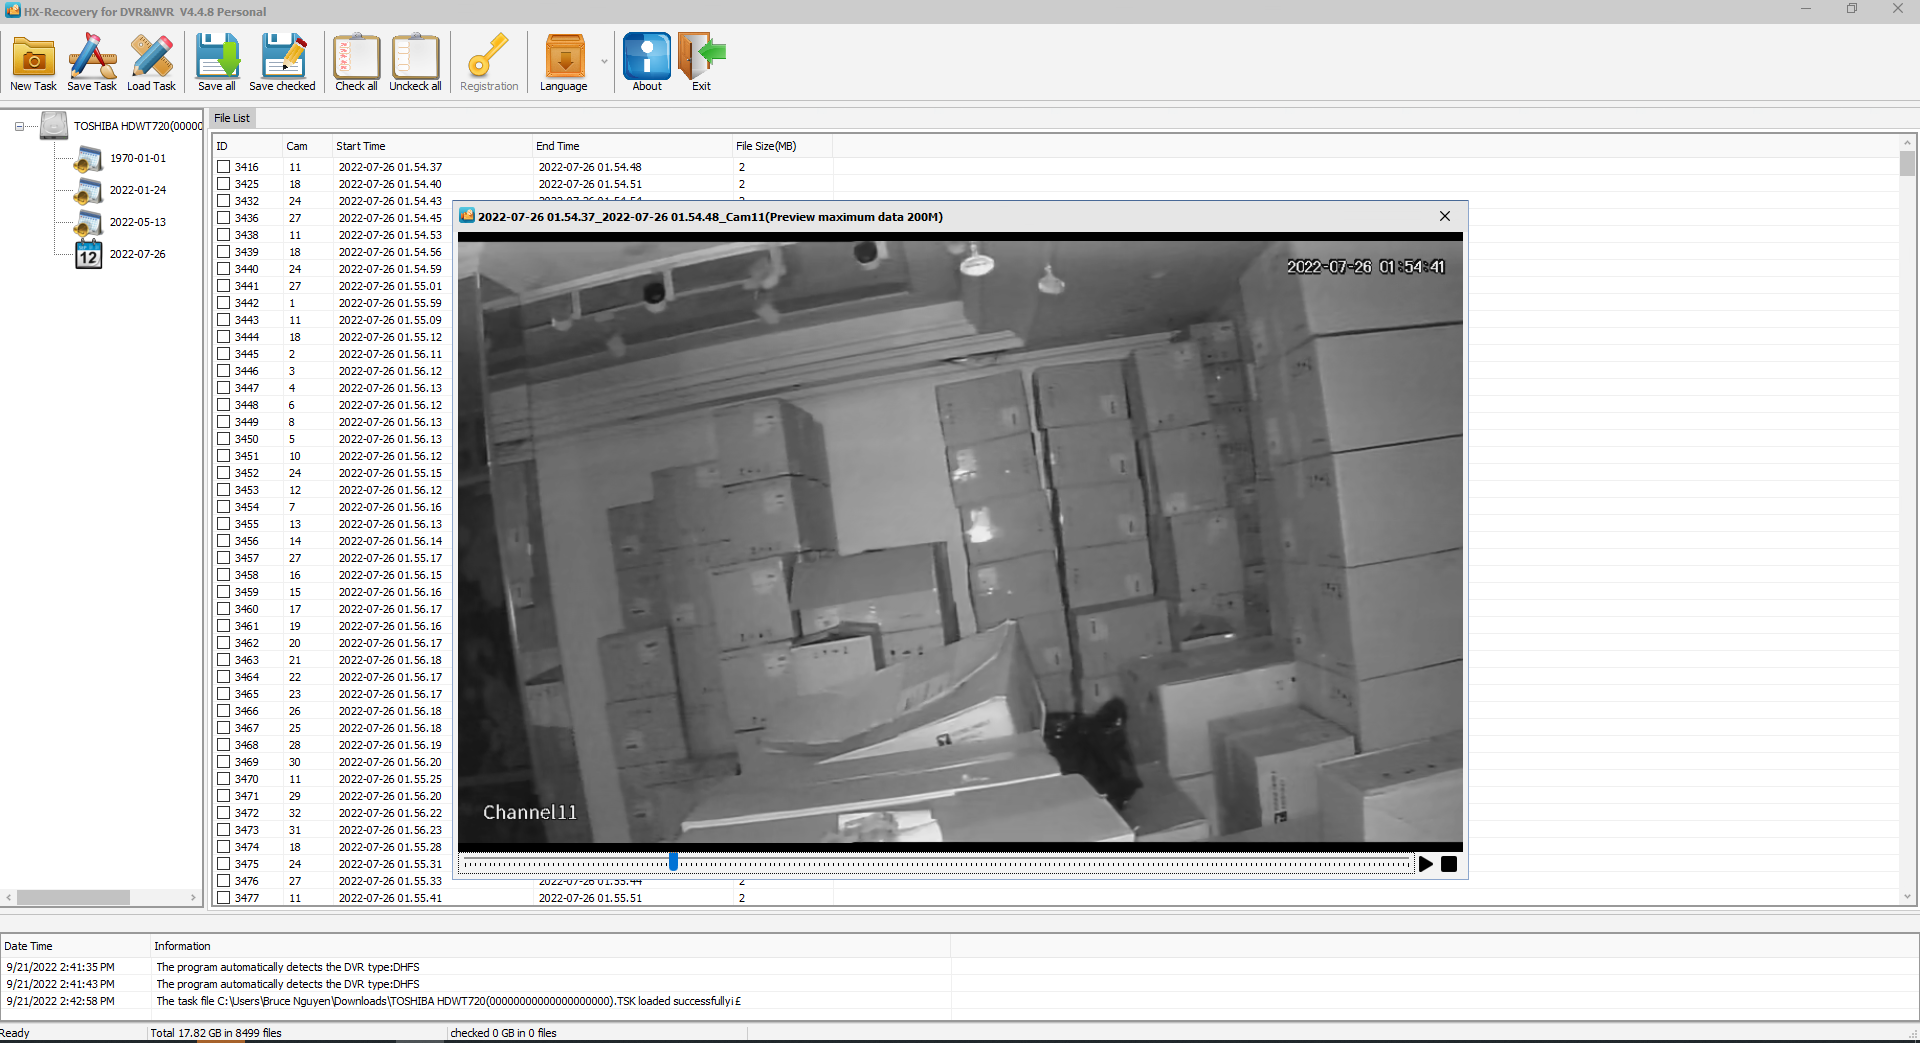
- Waiting for the result
Now just waiting for the software to finish scanning the data, after the scan is complete, you can choose the time to review it. In the process of scanning for too long, you can save the Task for the next time to scan.
Thank you for this amazing post and amazing program!!!
have seen it like its good